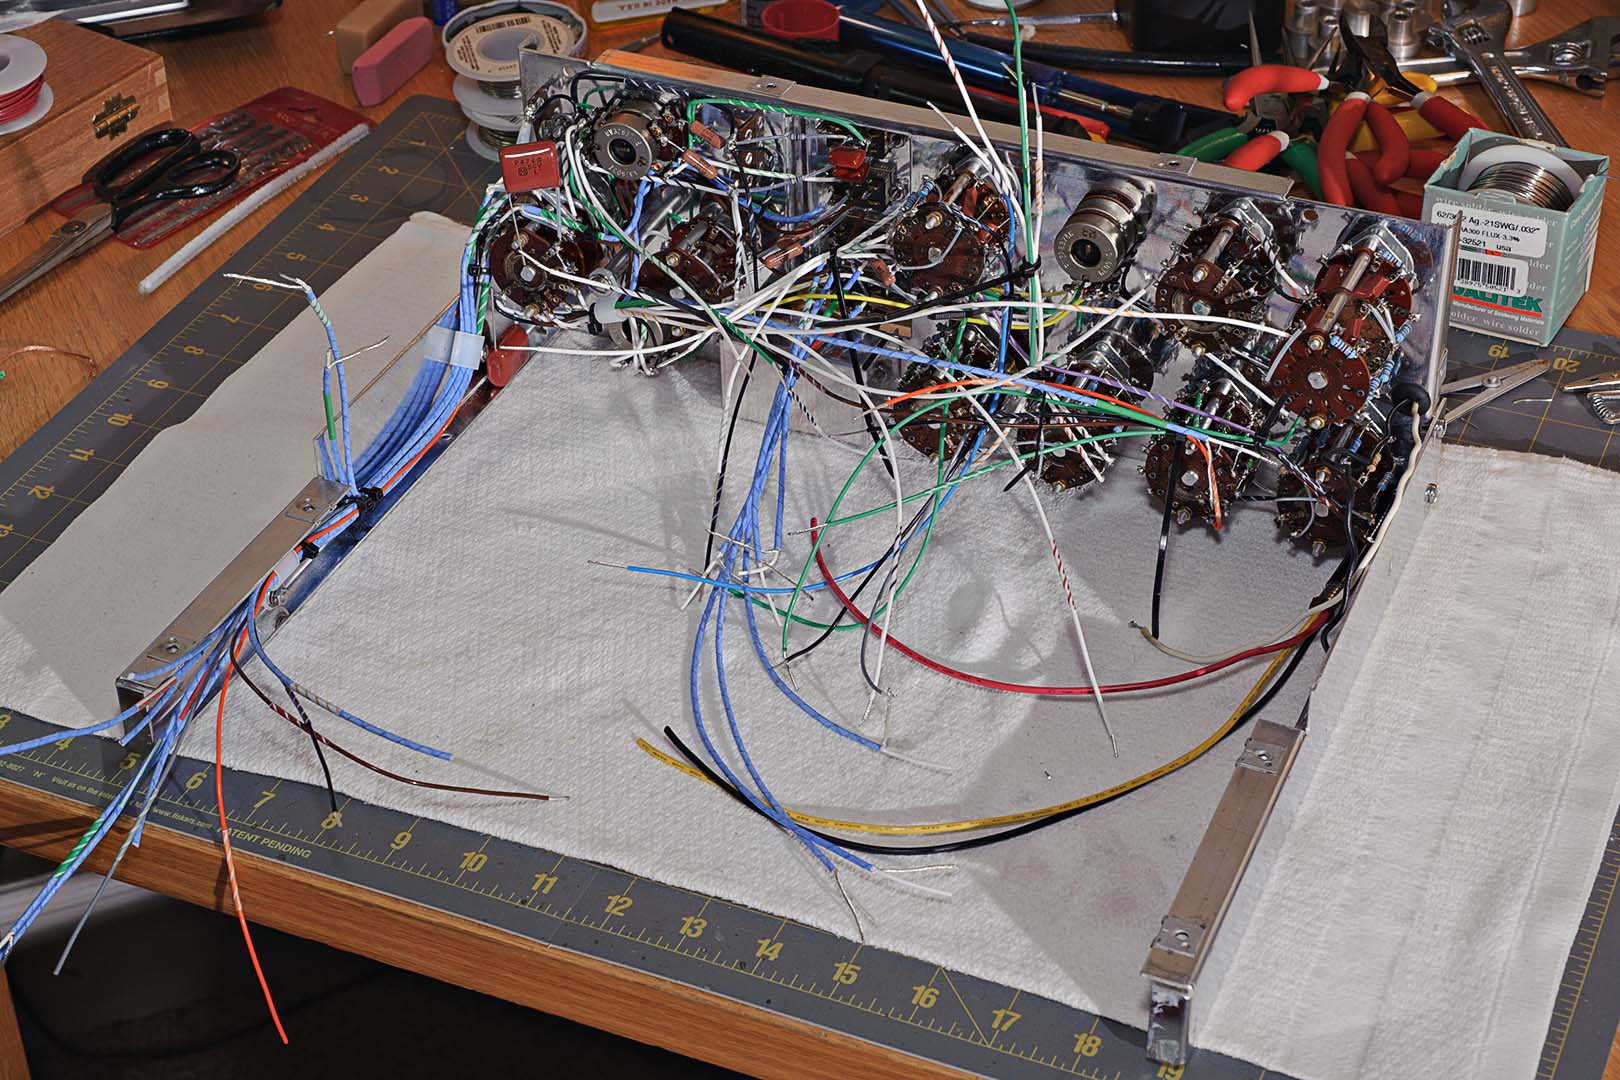
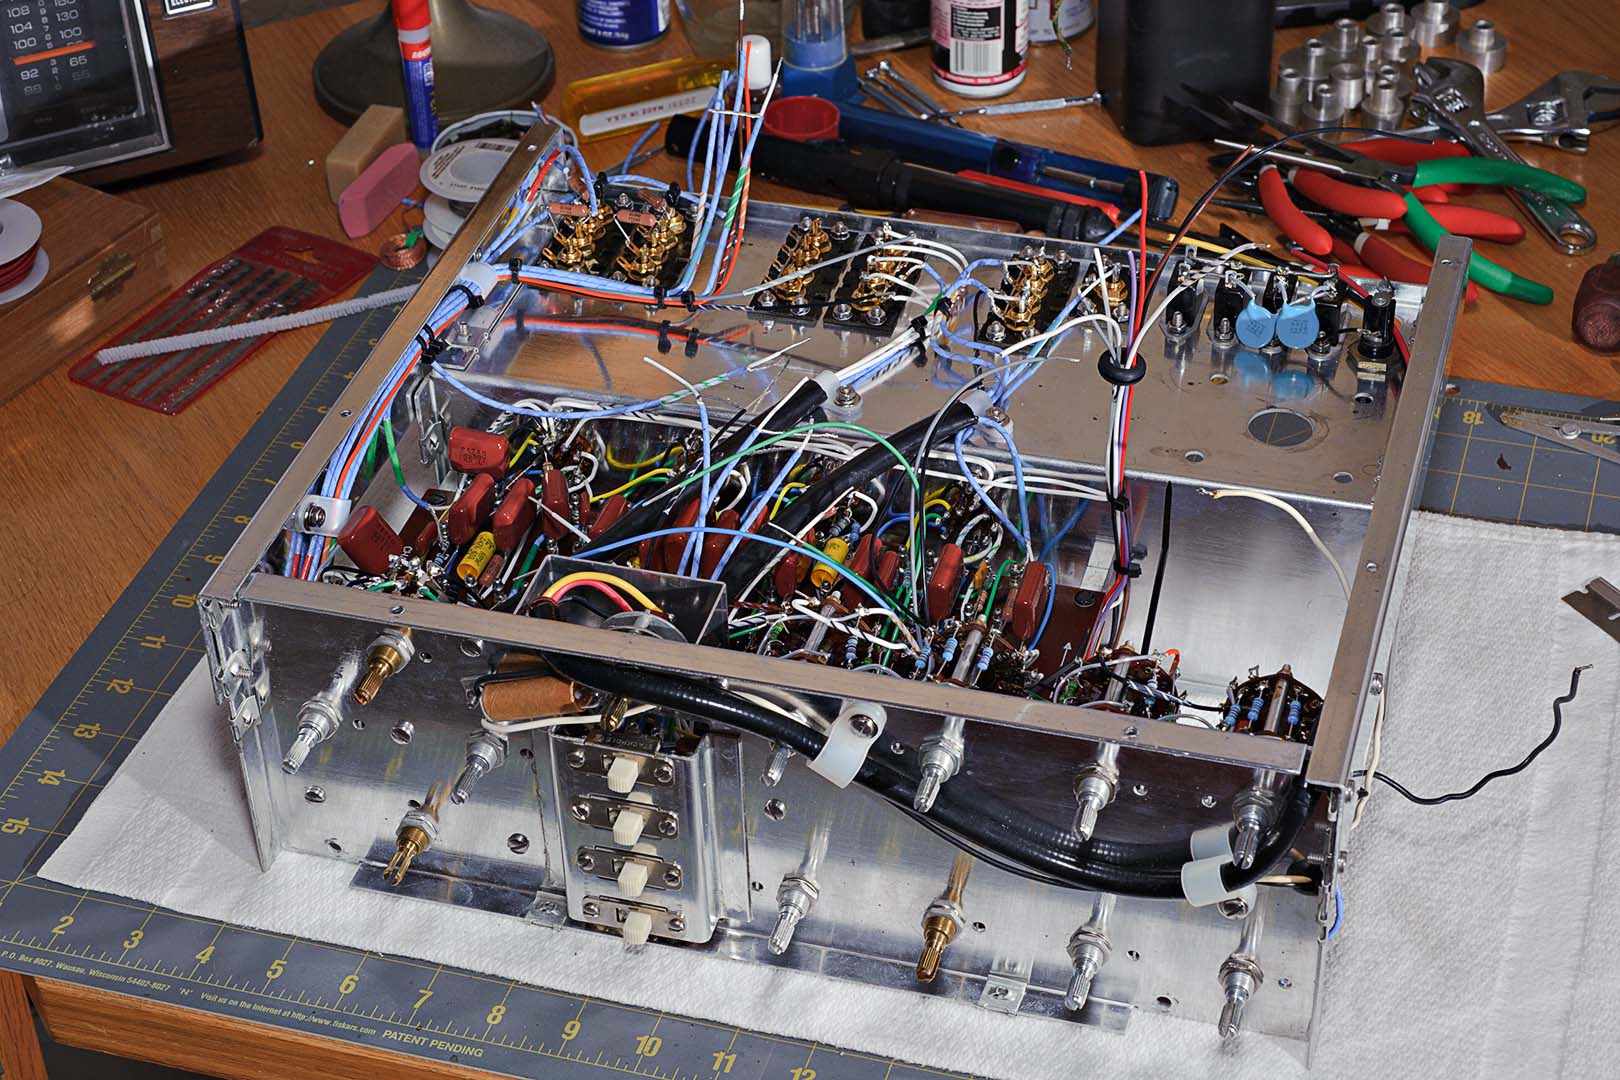
The last phase of the Citation assembly is to attach the power supply assembly to the main chassis and then attach all the wires. As I've said for the last few posts now, there's not much to it. Simply follow the instructions in the manual step by step. The power transformer is attached and the transformer wires are separated into three groups and routed as indicated in the manual. The bundle of wires from the main chassis is routed through the grommet on the power supply bracket and the bracket is then attached to the chassis using the appropriate washers and nuts. The following photo shows how the underside of the unit will look after these steps are completed.
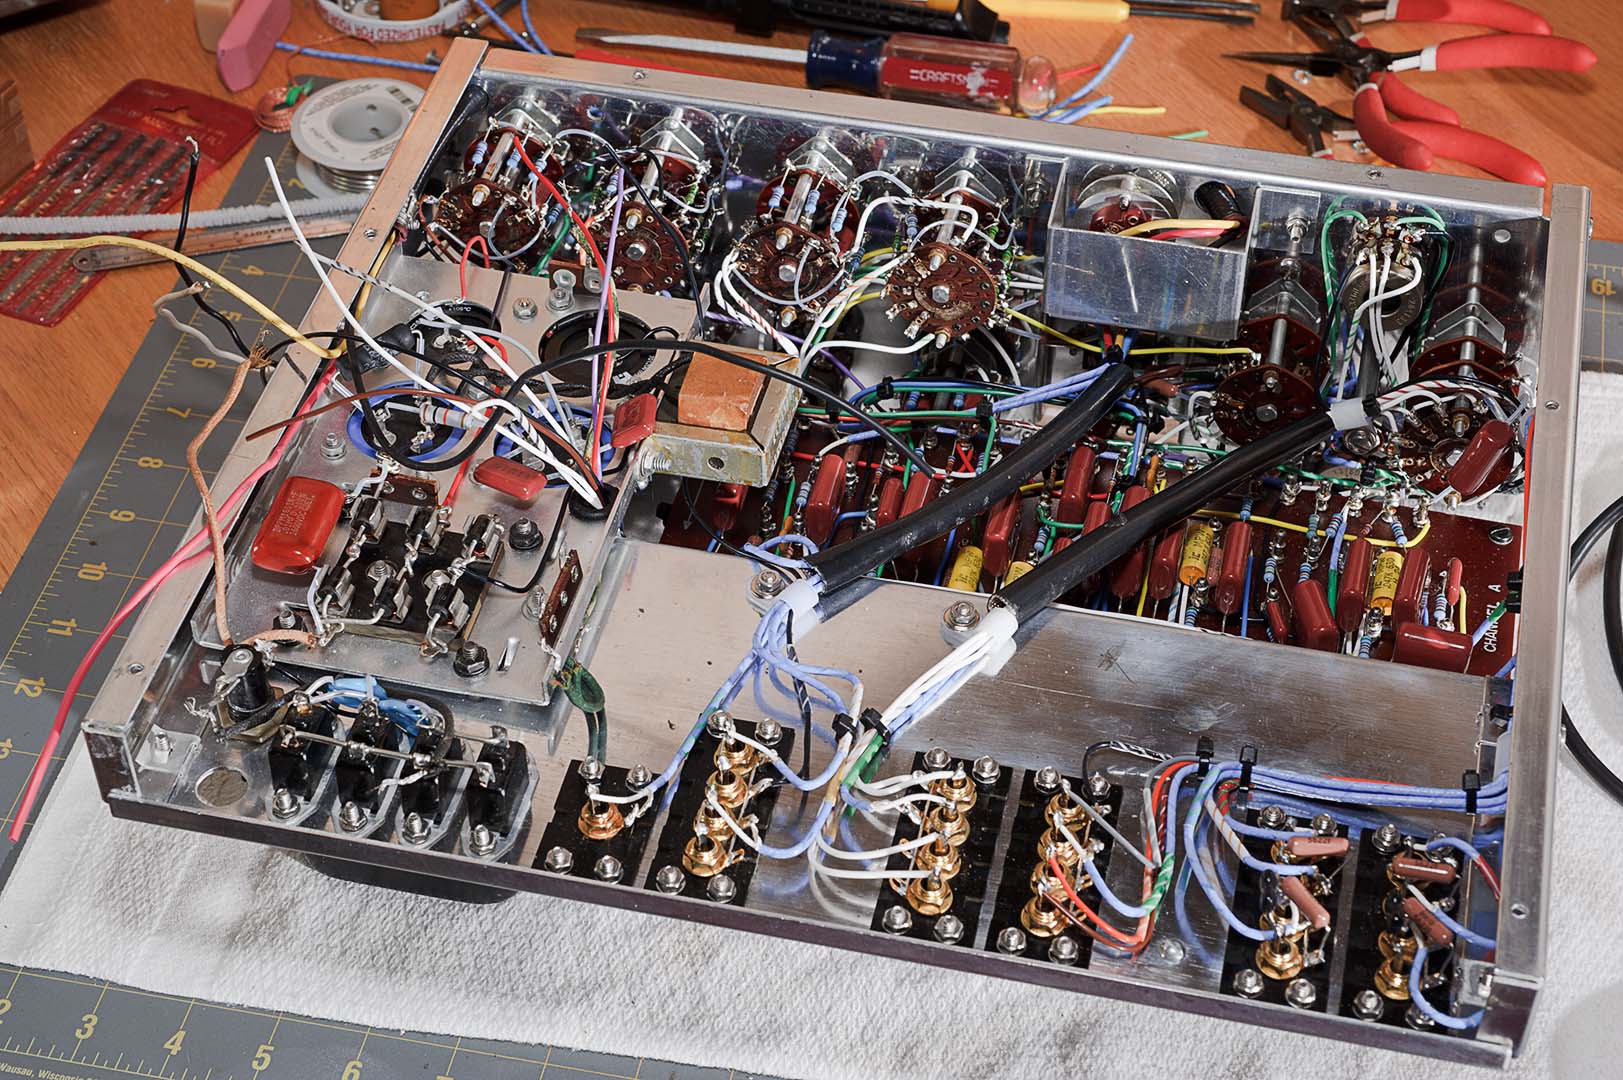
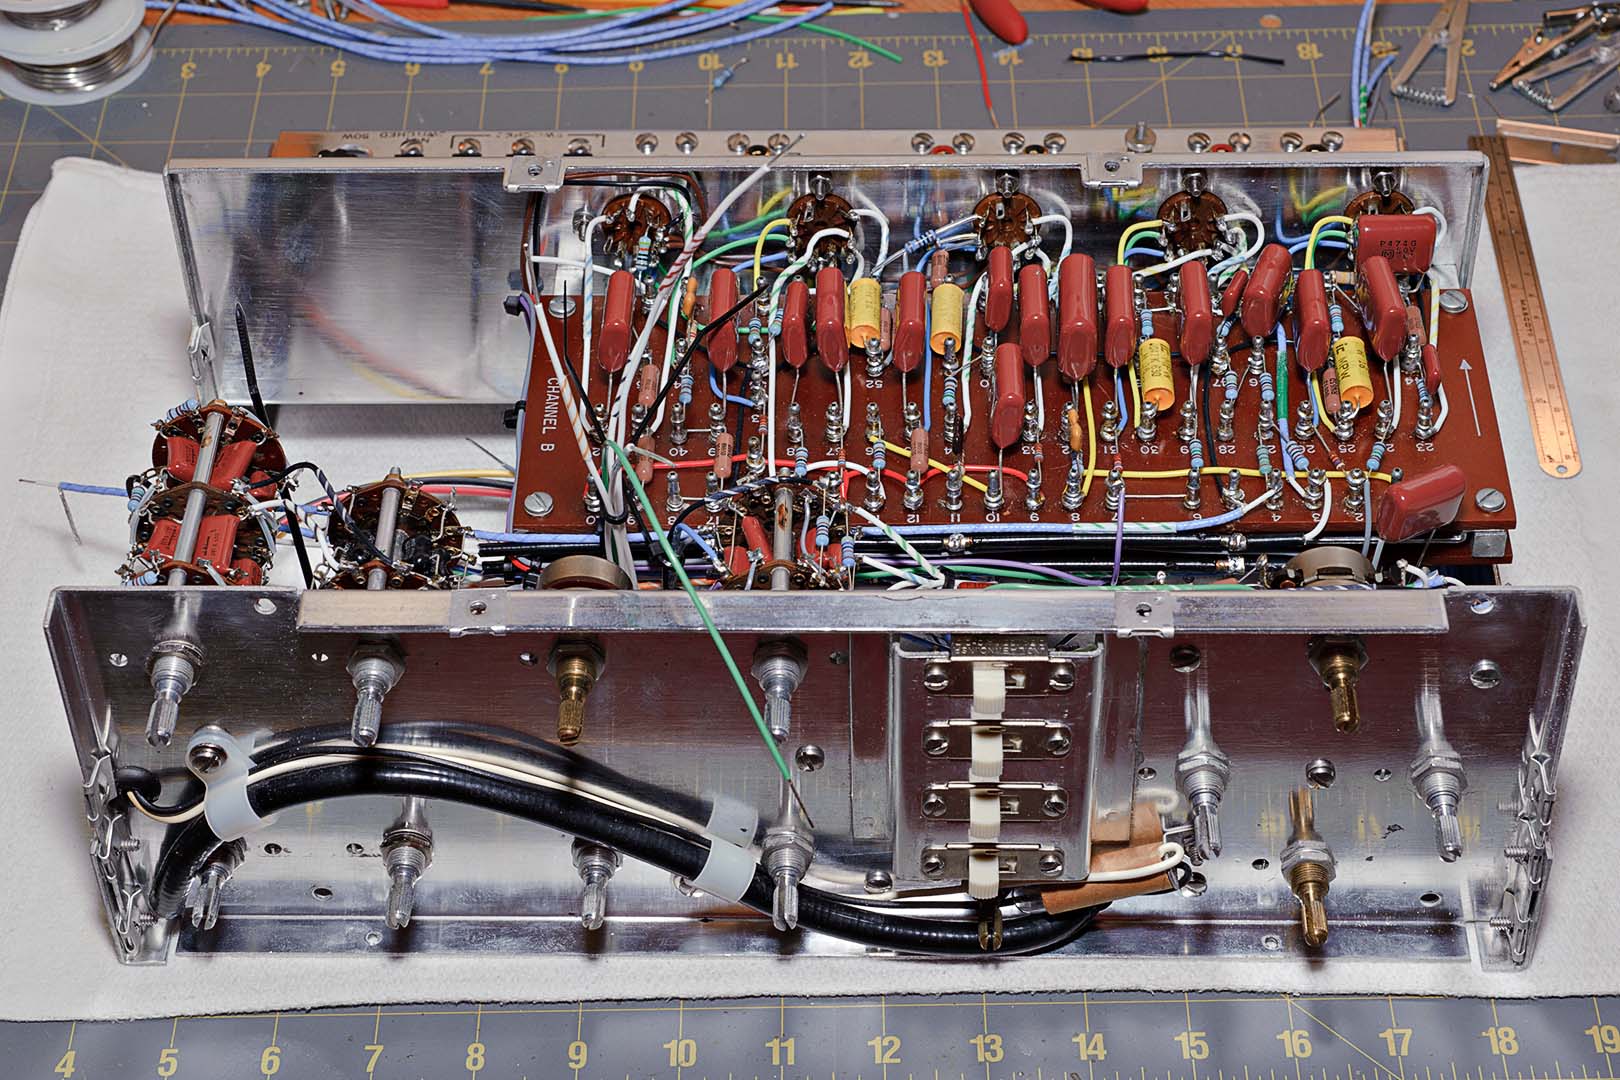
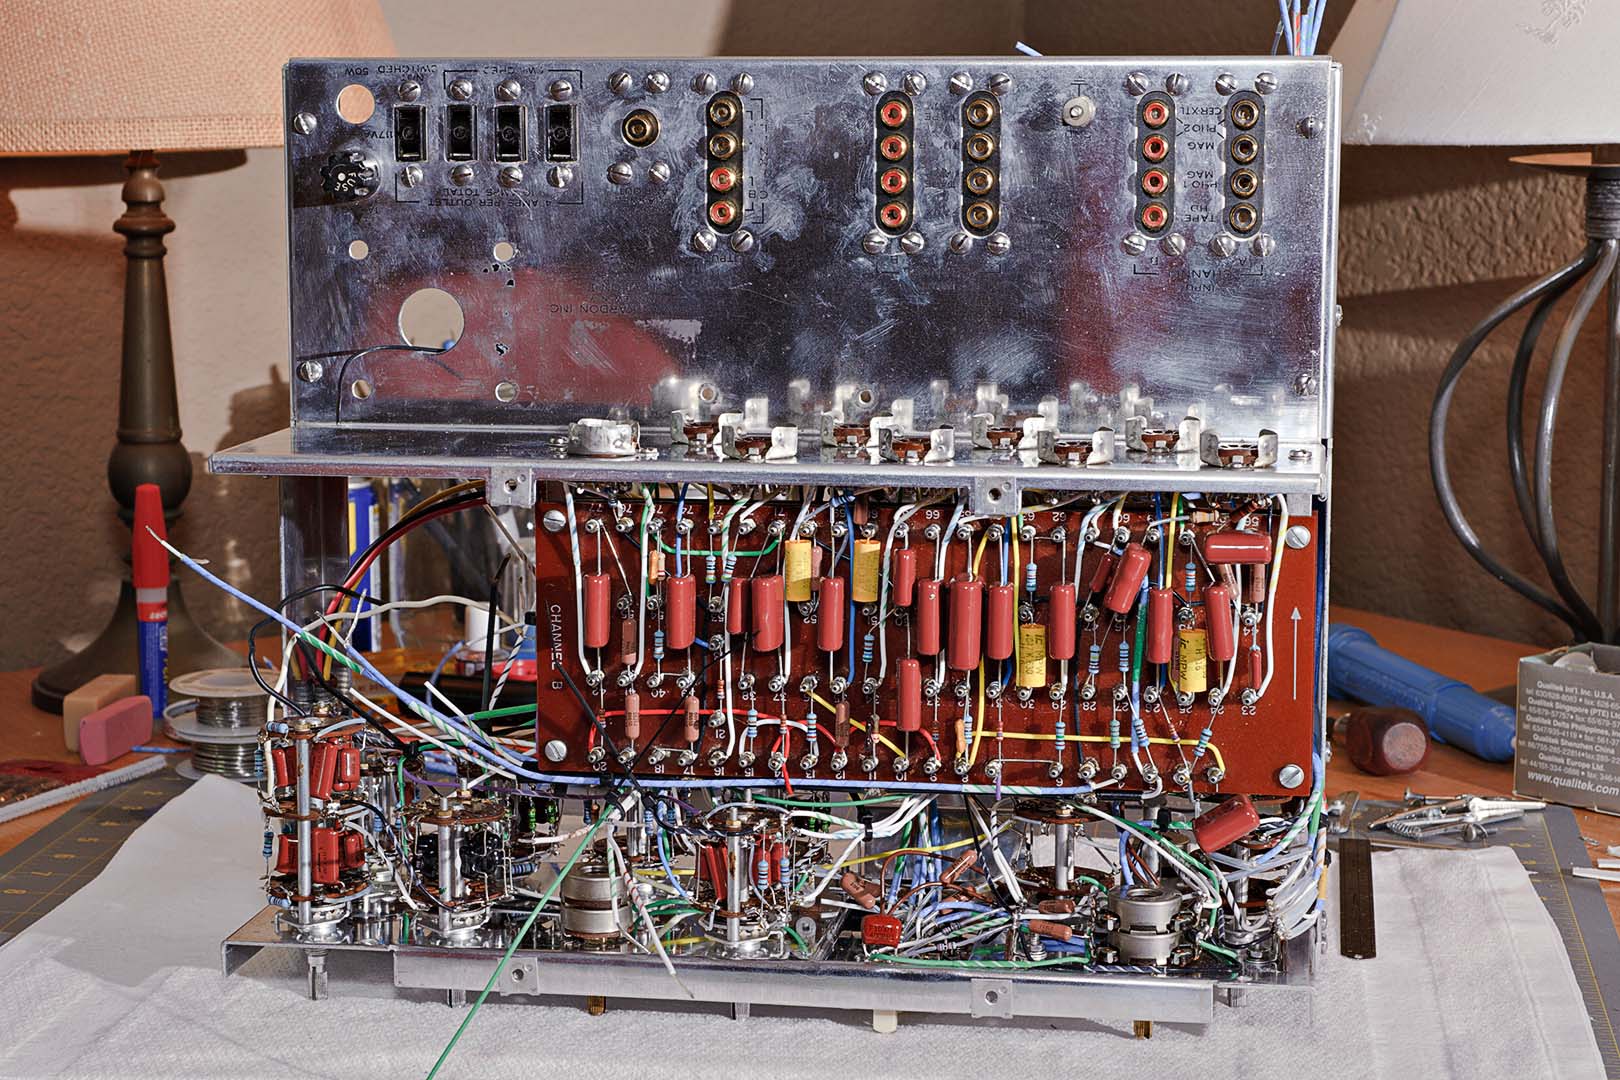
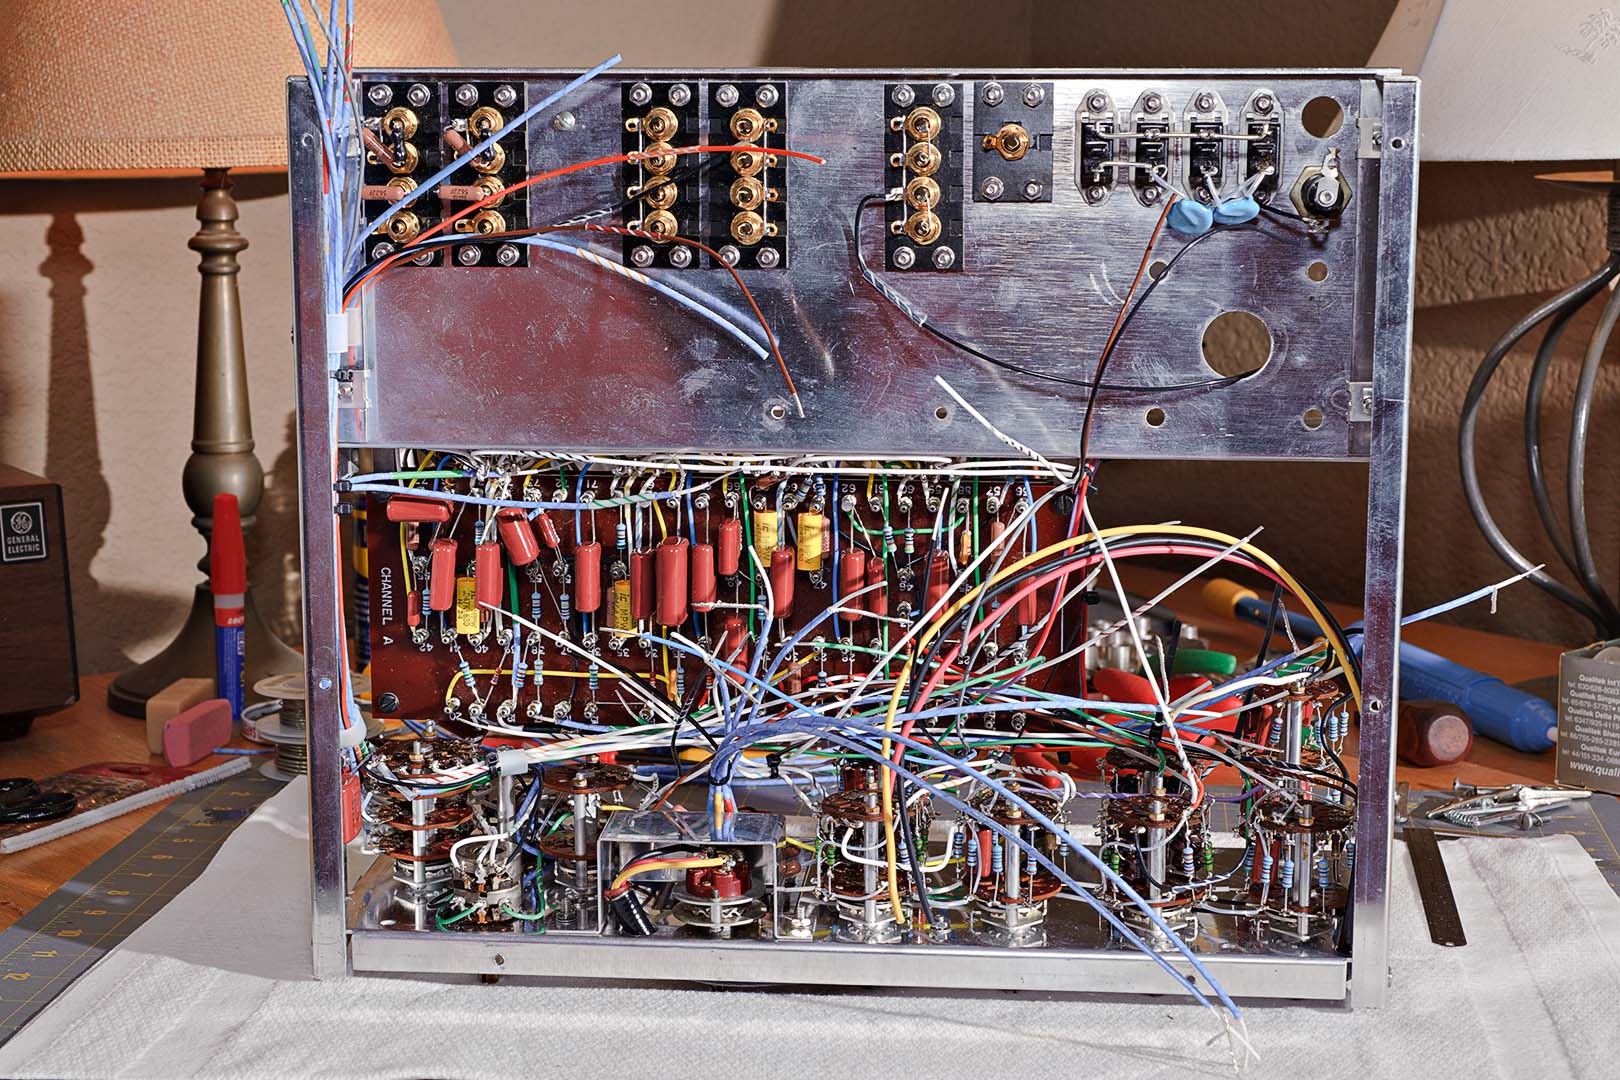
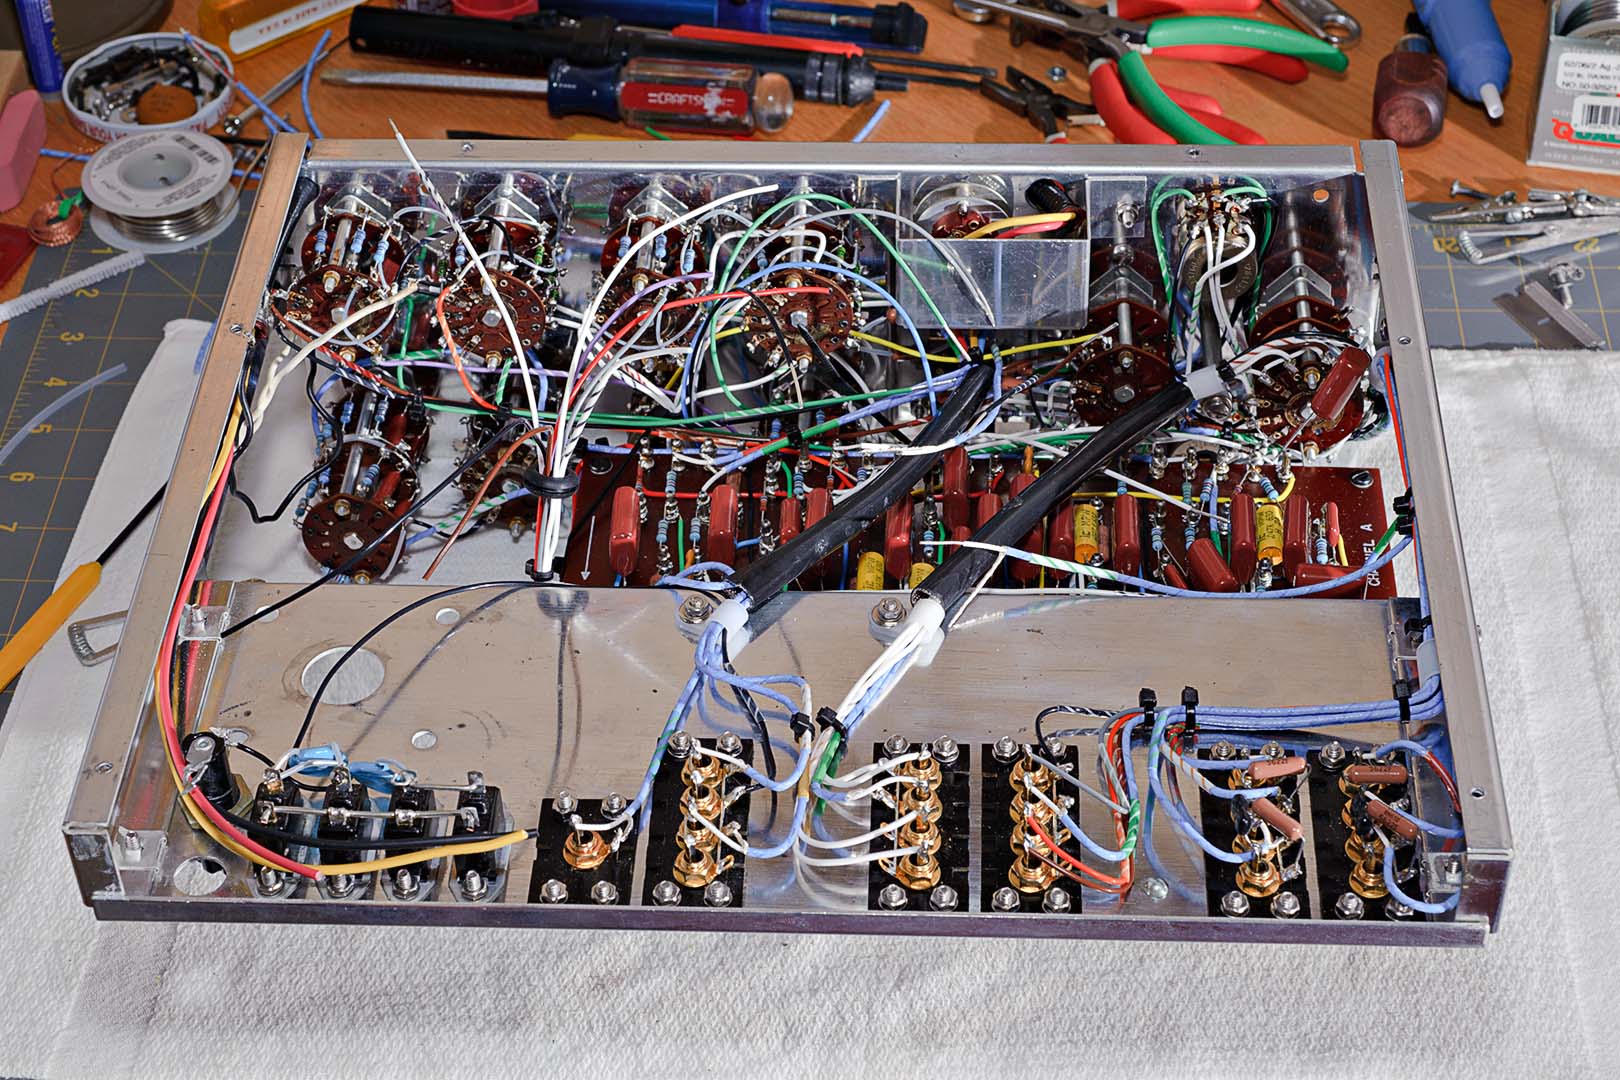
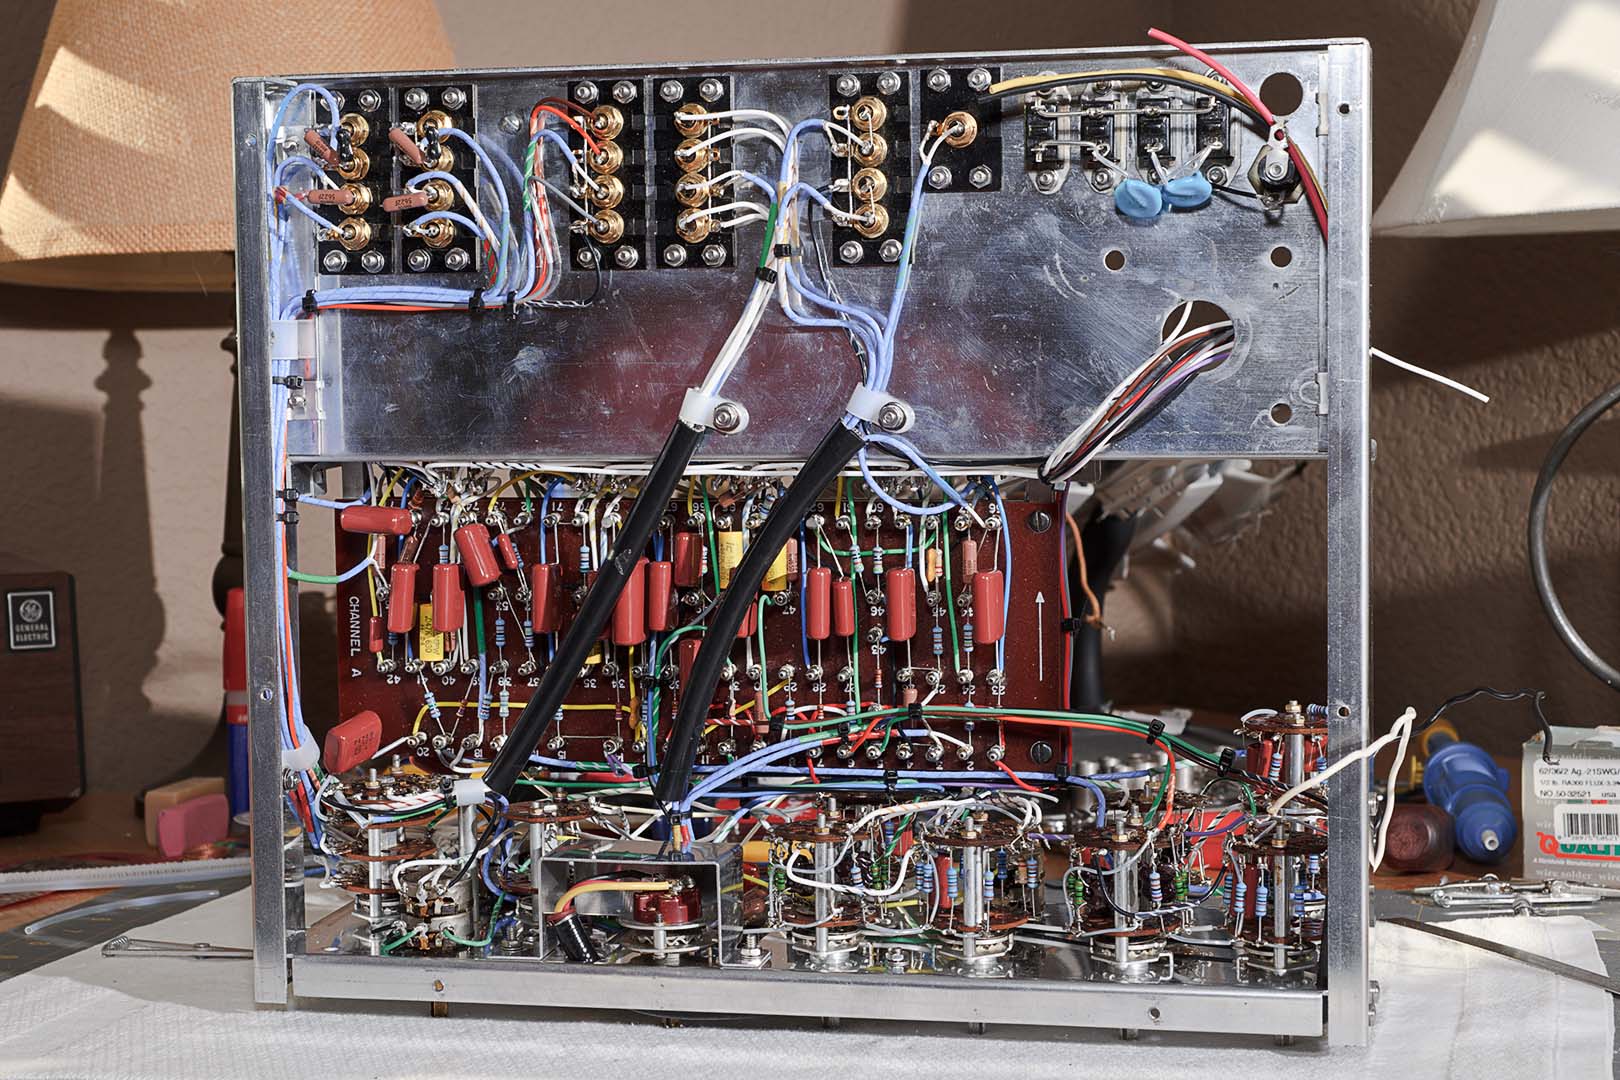
All of the loose wires shown in the above photo now need to be soldered to their attachment points. Again simply follow the instructions for dressing the wires and solder them to their final destination. Lastly, the power cord is inserted into the back deck of the chassis and the white and black wires are connected to the indicated points. That is it for the wiring. You are done! The underside around the power supply bracket after all the wiring is complete is shown in the following two photos. You can see the two capacitors just to the left of the choke (or above, depending on the photo) have been dressed in an upright position as opposed to lying flat as they were before final assembly. I am satisfied with the neatness of the assembly.


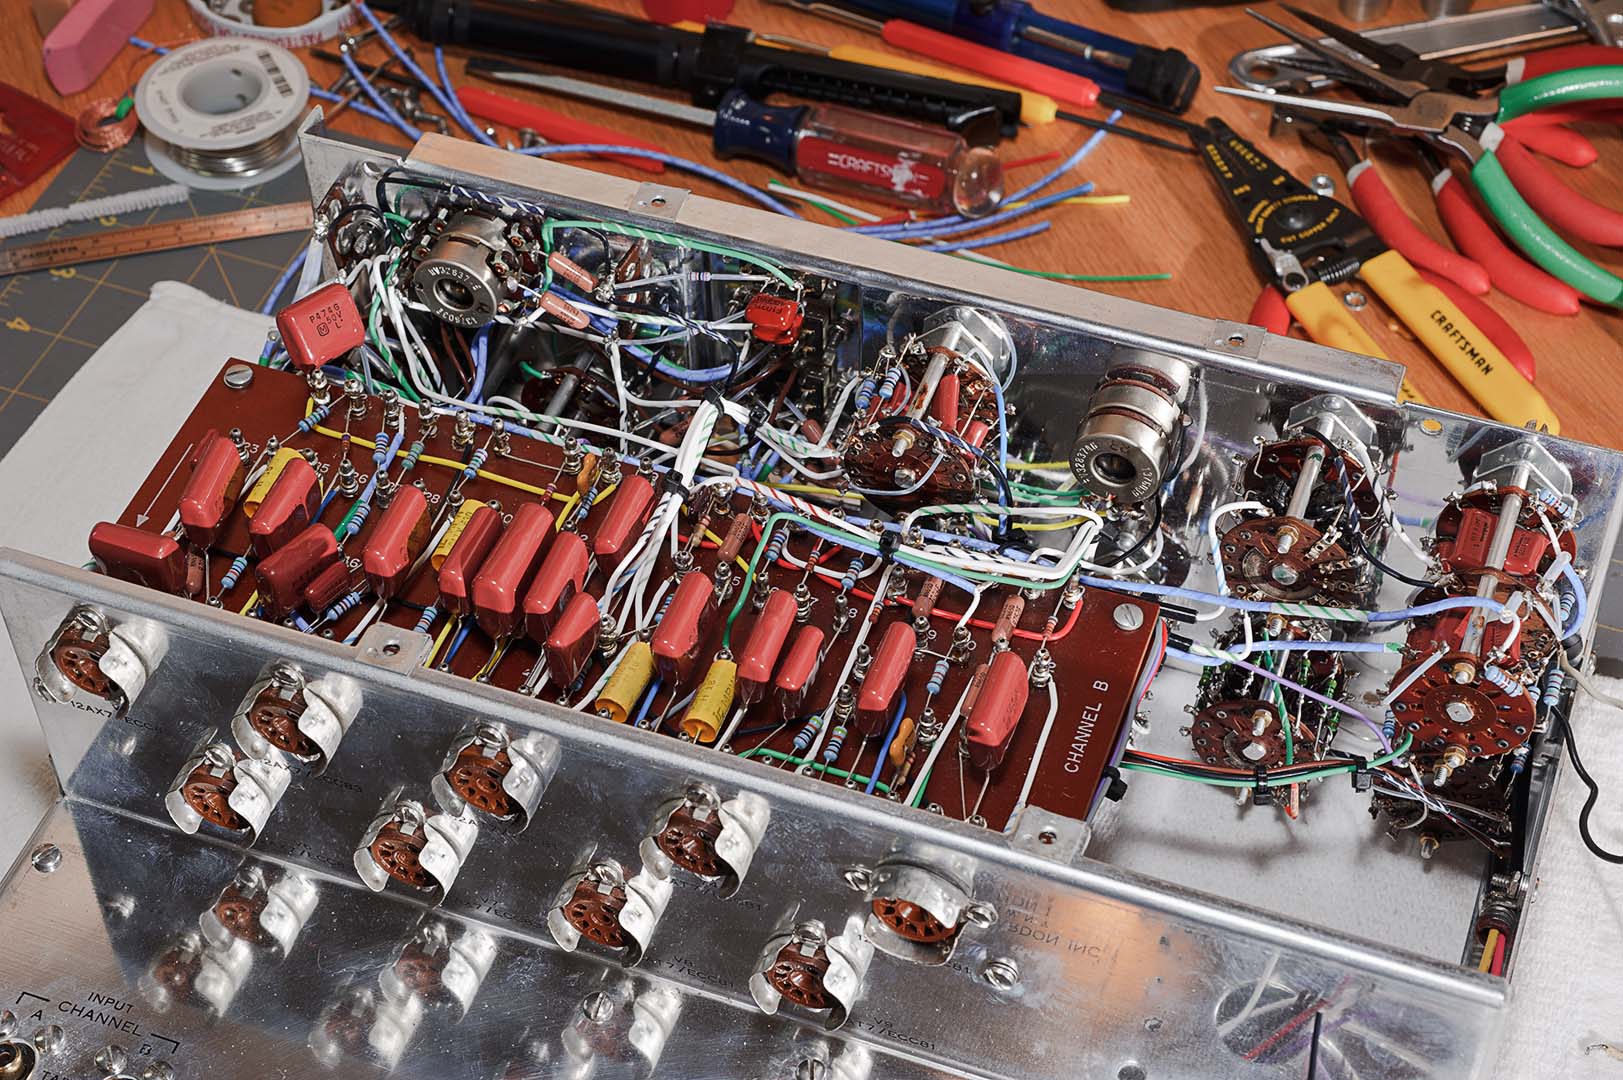
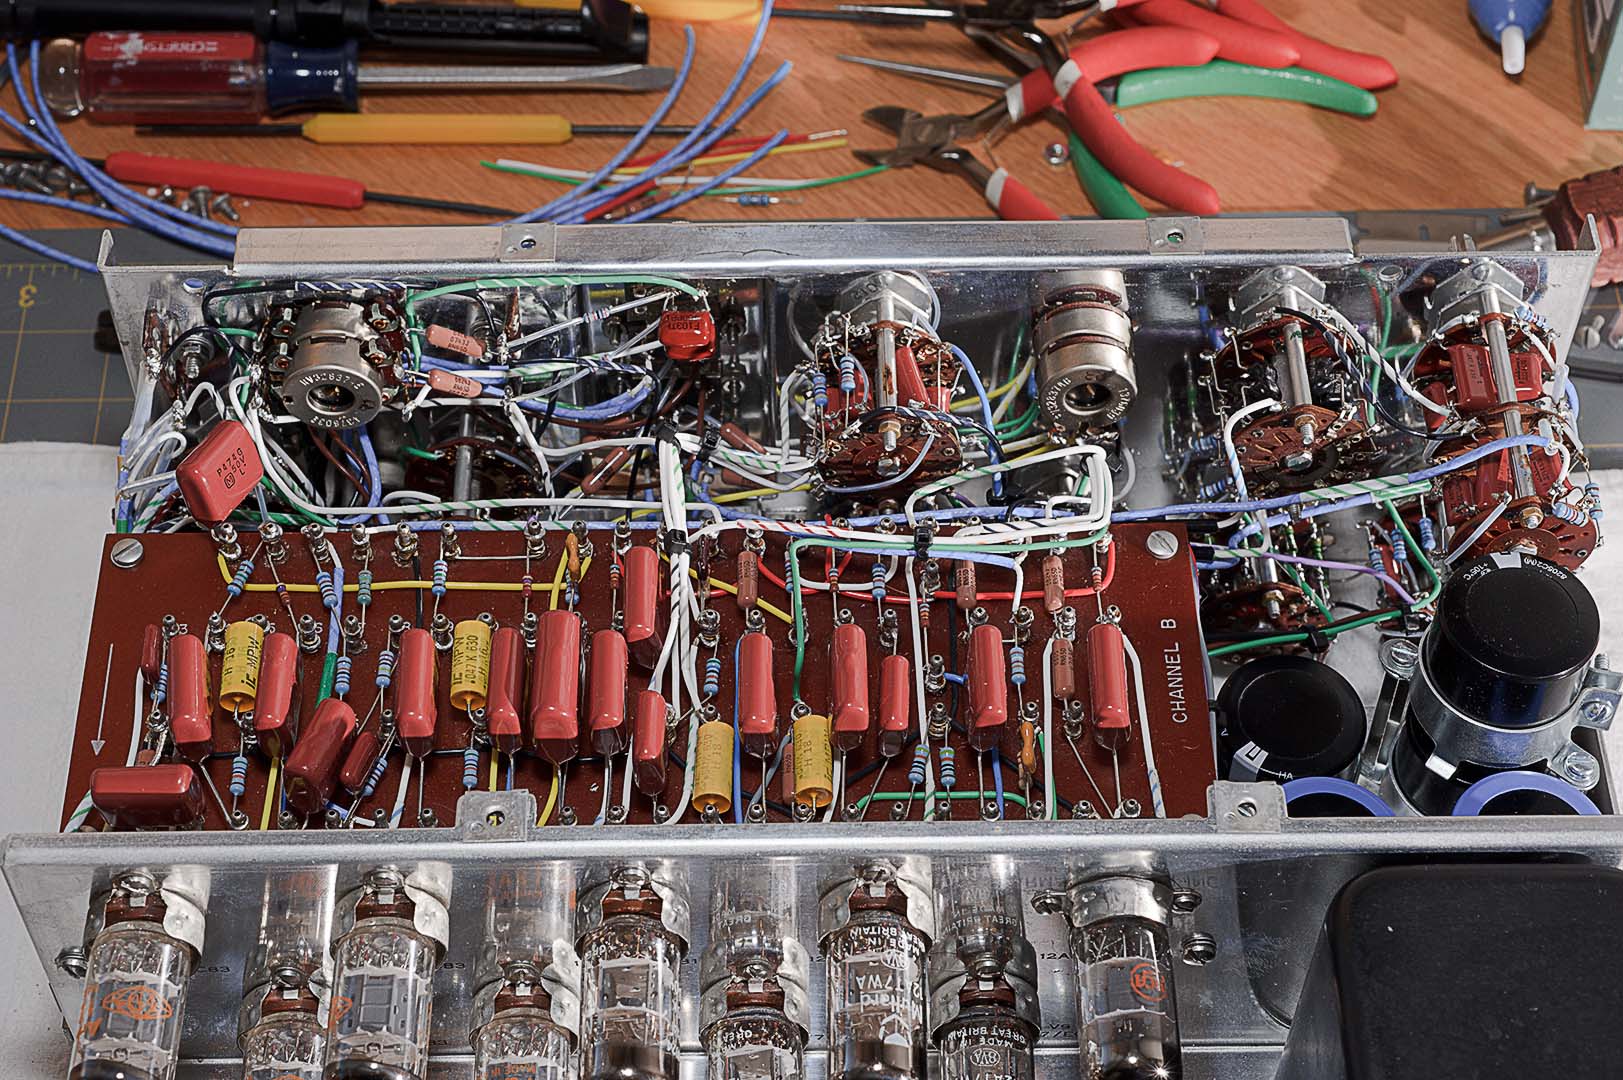
The following two photos simply show the top of the unit after all the wiring is complete. You can see that I have installed the tubes before I have completed mounting all the final hardware (the front plates, knobs, bottom plate, top cover). The tubes were installed so that the unit could be tested for correct resistances and voltages as specified in the Citation pictorial diagrams before mounting all the remaining hardware.

The three escutcheon front plates are loosely connected to the back plate. The hexagonal spacers are attached and all of the plates are tightened. The clear plastic power switch is installed next. Finally, the front plate assembly is mounted to the chassis. It's upside down, but the unit with the front plate installed is shown in the following photo.

Lastly, the knobs are installed onto the switch shafts. The only thing of note on the knob installation is getting the milled indicator line on the knob pointing to the correct position. For most of the switches that have discrete settings, like the function switch or the rolloff switch this is a simple matter. For the loudness and balance pots you'll have to decide for yourself. I installed my knobs so that they point at 12:00 when the pot is at the midpoint of its travel. The following two photos show the completed Citation I pre-amp from the front and rear.
The second photo reveals that I have already installed the bottom plate and the rear cover. In fact, there are a number of things to do before installing these two pieces. There are a few steps in the assembly manual still to be completed before closing the unit up. These involve powering the unit on, checking voltages and resistances, etc.
When I first powered my unit on the fuse blew. Oh no! I thought. All that work! I don't know if the added capacitance in the power supply causes a greater initial current draw when the unit is powered on. In any event, I decided to give it another try with a new fuse. This time I installed a slo-blow fuse. This was based on a similar experience I had with my Citation II amplifiers after they were rebuilt with beefier power supplies. When I powered up this time the unit it stayed on. Phew! With the unit on I measured the voltages against the chart. Everything checked out fine so at this point I can officially declare PROJECT COMPLETE.


The pre-amp was installed inside an original H/K walnut cabinet. This cabinet has a few scratches and dings that need to be removed with a refinishing project. However, I have my father's mint condition cabinet in storage just waiting to house a refurbished Citation I. I will probably save it for when I refurbish my father's unit. But because I have a blemish free cabinet I don't feel a pressing need to refinish this one at present.
So, what tubes did I install in the completed pre-amp? I chose to use NOS Amperex tubes for the 12AX7 positions. NOS Mullard 12AT7WA tubes were used in the line stage positions V3, V4, V8, V9. These Mullards are the later model military tubes that are usually found boxed as CV4024. For the V5 position I chose to use a relatively cheap RCA 12AT7 tube. I was advised not to put an expensive tube in V5 because this tube only serves to light the power lamp and is used for the center channel line out. If you don't use the center channel, then why waste a good tube?
My final photo for this project is shown below. This is my system. Placed on top is a Music Hall MMF-7 turntable on the left alongside the new Citation I. Down below you can see two Citation II amplifiers. Both have been completely refurbished using all of Jim McShane's kits and parts. At present I only have one amplifier in use. The intention is to use both amplifiers. I haven't decided yet if I will bi-amp them with my Joseph Audio speakers or wire them as monoblock units. The shelving unit is from Salamander.

Time Spent: ~4 hours
So ends the project. I hope there are Citation fans out there who enjoyed reading this blog. This project was a lot of work, but I enjoyed all of it. I hope there were things to be learned for everyone who visited. What's next? I don't think I'll be doing a second Citation I right away. I have a couple of Citation II amps that I may work on next. But, the very next thing on my list is to hook this new pre-amp up to my system and see how it sounds. I hope you check back from time to time to read my report.
Once again, thanks to everyone for stopping by and reading. Goodbye for now.