At the end of the last post I stated that the chassis has now ready to disassemble to its four individual pieces. This is true, but before I did that I spent time deciding how I was going to handle the cleaning and possibly polishing of the metal. I want to get rid of the oxidation of course, but I need to make sure I don't harm any of the lettering.
I didn't have a clue. I decided to try a general purpose metal cleaner. Off to the supermarket. I went to the aisle where they sell household silver and brass cleaners. Sitting on the shelf were a couple of all-purpose metal cleaning products. I chose a bottle called "Mr. Metal" with Tarnish Guard. The bottle claims to "Clean, shine, and protect all metal surfaces instantly. Just wipe on and wipe off. Mr. Metal shines all metal objects from the finest sterling silver to the dullest auto wheels and marine hardware." Sounds good to me.
Back at home I then did what anyone would recommend. Try it first on a small section that isn't visible. I followed the instructions and... Wow, this stuff works! It's not exactly wipe on and wipe off. But it's not bad. You certainly don't have to use too much muscle to polish and buff. OK, let's do the big test; try it on a section of chassis that contains lettering.
The chassis does not have perfect rear deck lettering. There are some areas where the lettering has been partially worn away. One example is around the convenience outlets. This seems like a good test area. If I lose a little more outlet lettering that's not a big deal. So let's test... Yes, no problem! Mr. Metal restores a beautiful shine to the chassis and does not remove any lettering. I continued on and polished a larger area. Here is a photo of the partially polished rear deck. Notice the difference between polished and unpolished areas. Especially take note of reflections. This is where it is most obvious. If you go back to the previous blog post you can also compare an untouched chassis. I'm not sure that the photos do it justice but this polish really works.
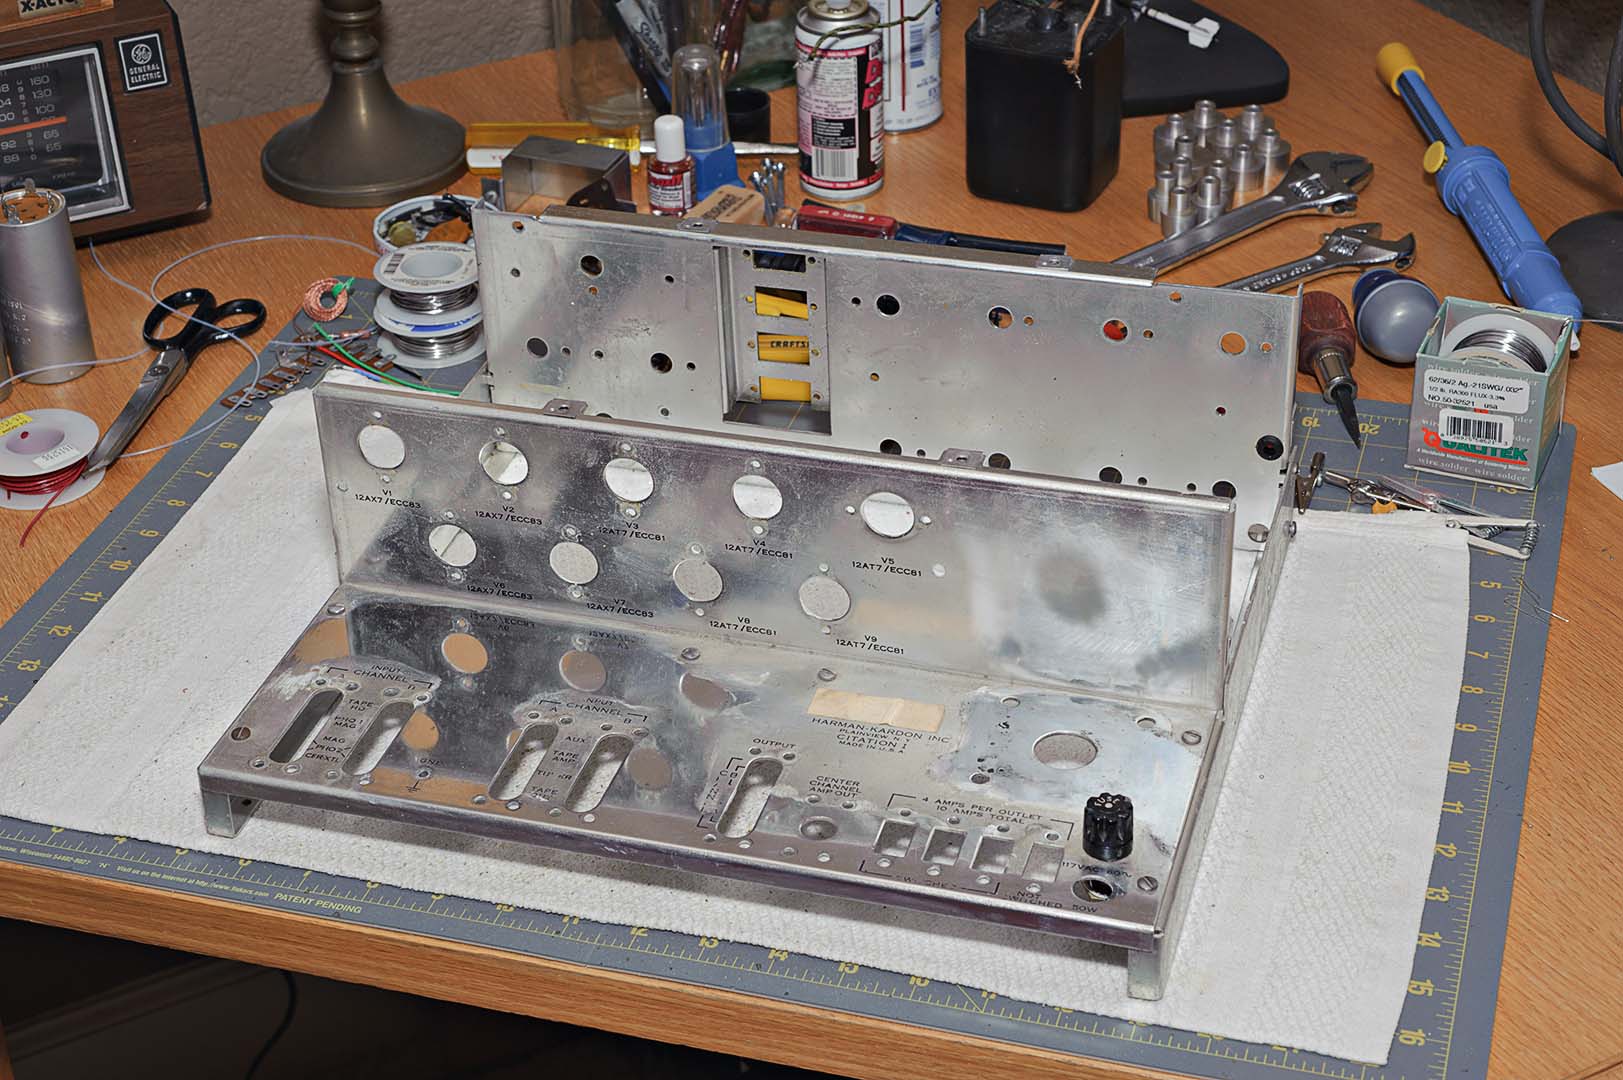
You'll also note that I have removed the power cord. It would have been easier to leave it in, but it would have made the polishing process harder. But I have kept the fuse holder in place. I have removed this when working on my Citation II amplifiers but decided to leave it in this time. Now the chassis can finally be broken down into the four individual pieces; the front panel, two side panels, and what I have been referring to as the rear deck. And one last piece was removed as well. The small rubber grommet for the wires of the lamp was cut away. This piece, as is usual with these old grommets, was completely hardened and had to be cut off with a razor blade.
At this point there's not much to write about. Mr. Metal is applied using "shop cloth rags" bought at Home Depot, using a bit of light rubbing and then removed. The polish turns black as it reacts with the metal but it all comes off, leaving a bright shine. Now, it's not perfect. The chassis has some scratches that aren't removed by the polish as well as some deeply oxidized speckles here and there. I suspect that those spots are areas where the oxidation has gone deep down into the metal.
Here are the four finished panels. All in all I am very pleased with the results. The question is going to be how long that nice shiny finish will last. As I handle the polished parts I find that they show fingerprints very easily now. So as I assemble everything over the next few weeks I am going to have to do a final cleaning. I'm hoping that will just be a "wet wipe" with some Windex or something.
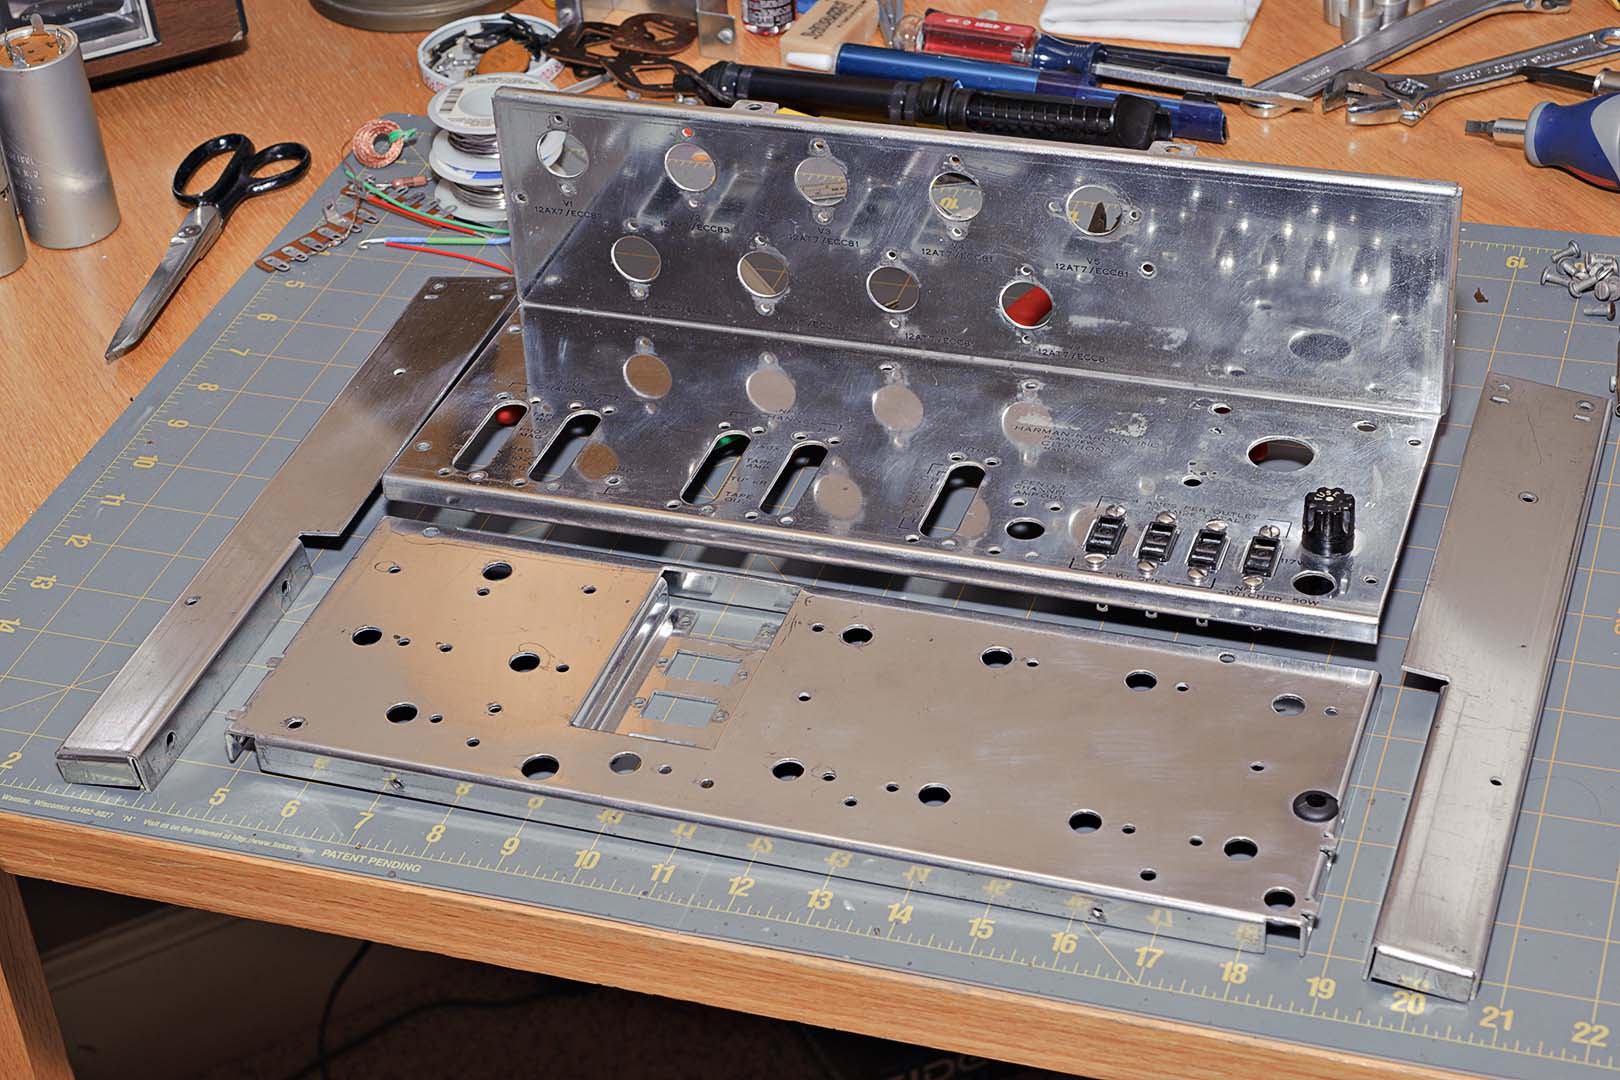
If you're following my posts carefully you may also notice a couple of things in this last photo. First, notice that I have already installed a new grommet in the front plate. I installed a 1/4" grommet and it really is too big for the hole. But I was able to brute force it into the hole. Good enough. A 3/16" grommet would have fit better, but I would have had to run around to find one of that size. Second, notice that I have already put in the new convenience outlets. And third, you probably can't tell from this photo, but the machine screws holding in the convenience outlets are new. I will be using new screws during reassembly. More on that in my future parts posting.
So that's it with the tear down. All done. Time to build now, right? Well... actually no. The rotatary and slide switches all have to be cleaned up. The rotary switches are especially going to be time consuming.
Time Spent: ~3 hours

No comments:
Post a Comment